My first time with a 3D printer
Recently, work bought a 3D printer for prototyping and to encourage staff innovation and creativity. It’s been quite fun playing around with it and seeing designs I’ve found and made come to life. This post is going to be a quick recap of what I’ve printed lately.
Ordering the printer
Printer
The printer that work ordered is an Original Prusa i3 MK3S.
Many years ago I was planning to build a RepRap Prusa Mendel, so it was quite interesting to see how the design of 3D printers has changed over time. The triangular frame of 8mm all-thread rod is gone, replaced by the more sturdy and extensible aluminium extrusions and frame pieces.
The control panel with an LCD and an SD-card slot also makes it a breeze to get started with. We’ve now set up OctoPrint though, so we can monitor jobs remotely and make it easier for other users to get their jobs ready.
Filaments
We also picked up a few different filaments to test with:
- PLA in gold: lovely prints with a lot of shimmer and sparkle in them, but was more expensive than the other PLAs.
- PLA in silver: we had some issues with under-extrusion on this one, but solid otherwise. I’m not sure which specific product this is for linking purposes, as it came included in the kit.
- PLA in neon orange: really nice quality prints, but a bit bright for some uses.
- PLA in blue: solid prints with no issues, but a bit dark for some uses.
- PETG in translucent green: I wasn’t originally much of a fan of this one, but it’s grown on me. The material is more flexible and robust than PLA, and it’s cool to see the infill pattern in your object (but only if it’s a good one!).
- ABS in white: we only printed one small sample object with this and it didn’t really work for us; the material shrunk and warped shortly after printing. We’ll need to investigate it further.
What I’ve printed
Coasters
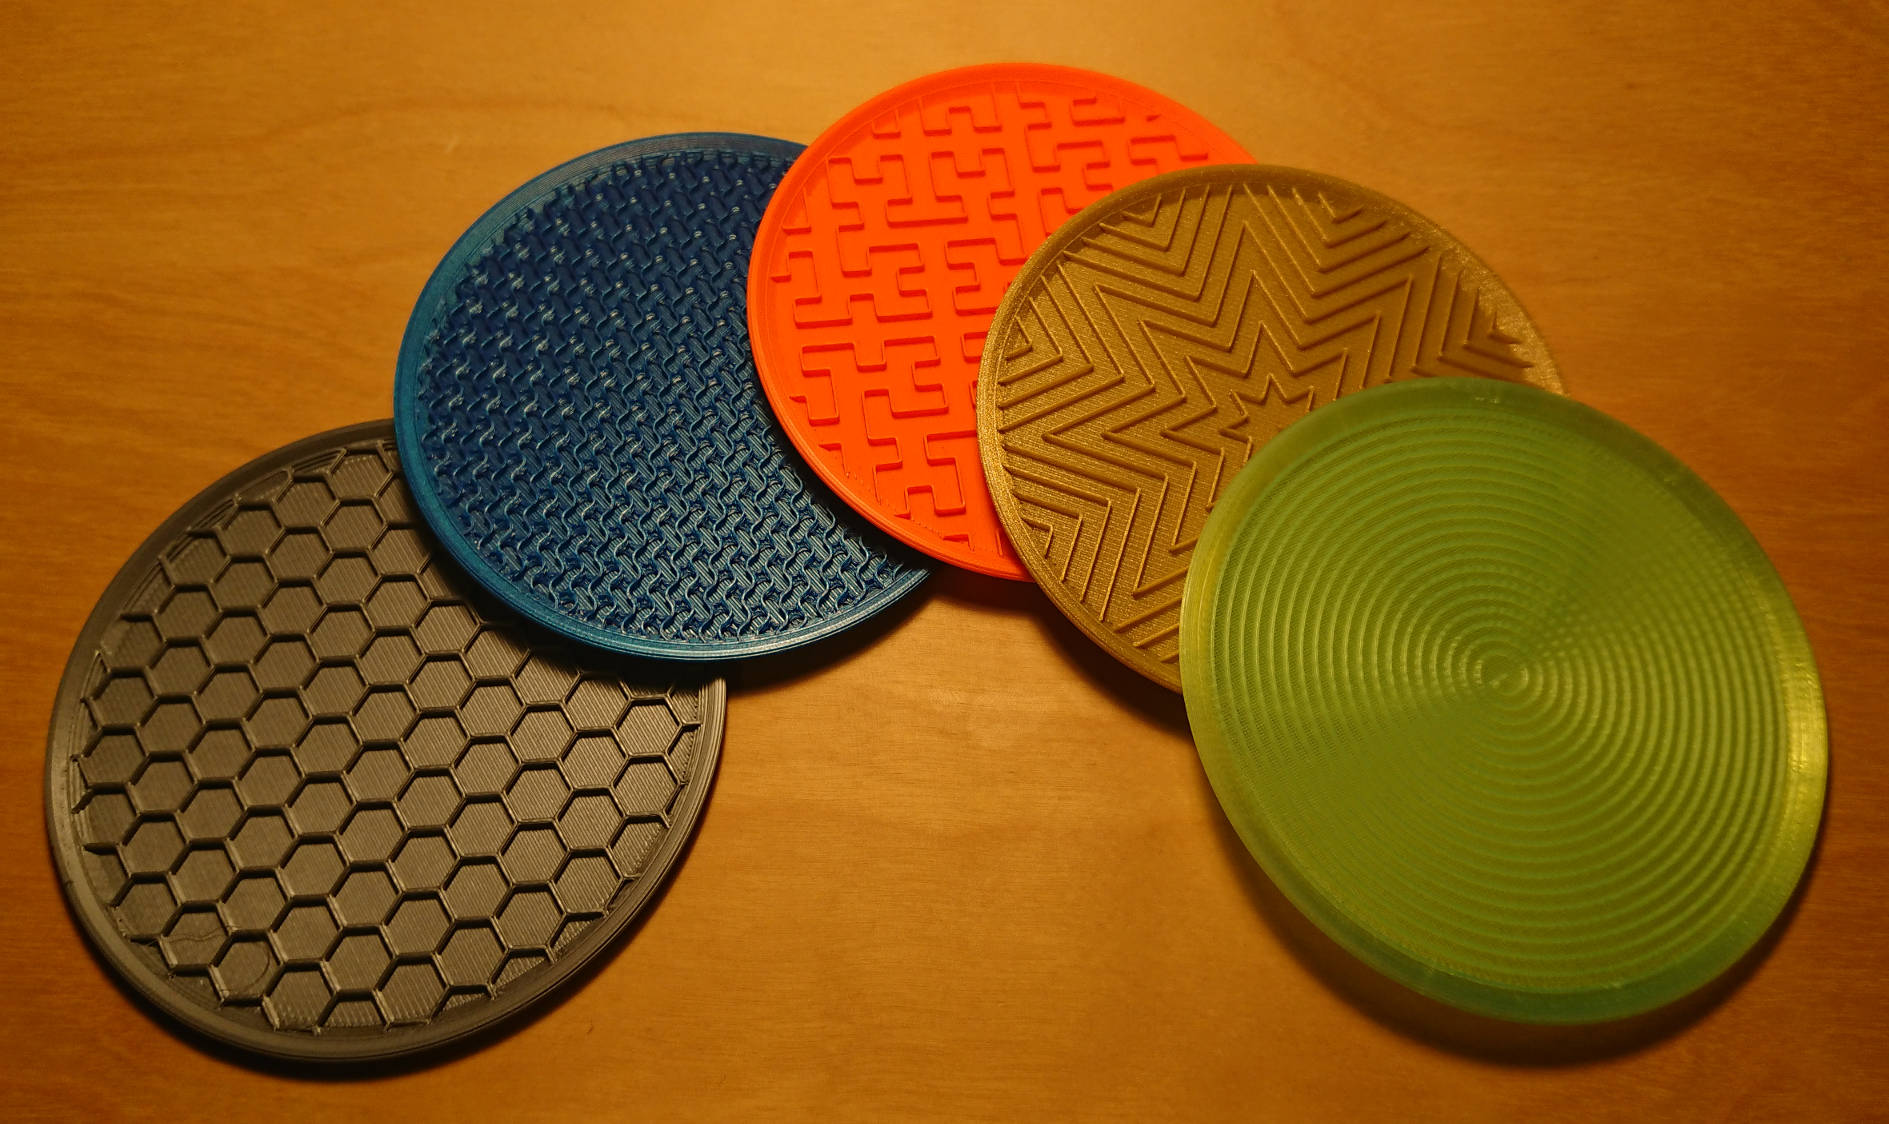
On Thingiverse, user jmdbcool has uploaded the awesome Infill coasters design, along with comprehensive instructions on how to set up the patterns to your own specification.
This was a great way to test out the various filaments we’d ordered and to get a better idea of the look and physical characteristics of the infill patterns. They’re also quite quick to print, with an average print time of just over an hour (based on a 0.2mm layer height and infill densities of 10% or 20%).
Gravity hook
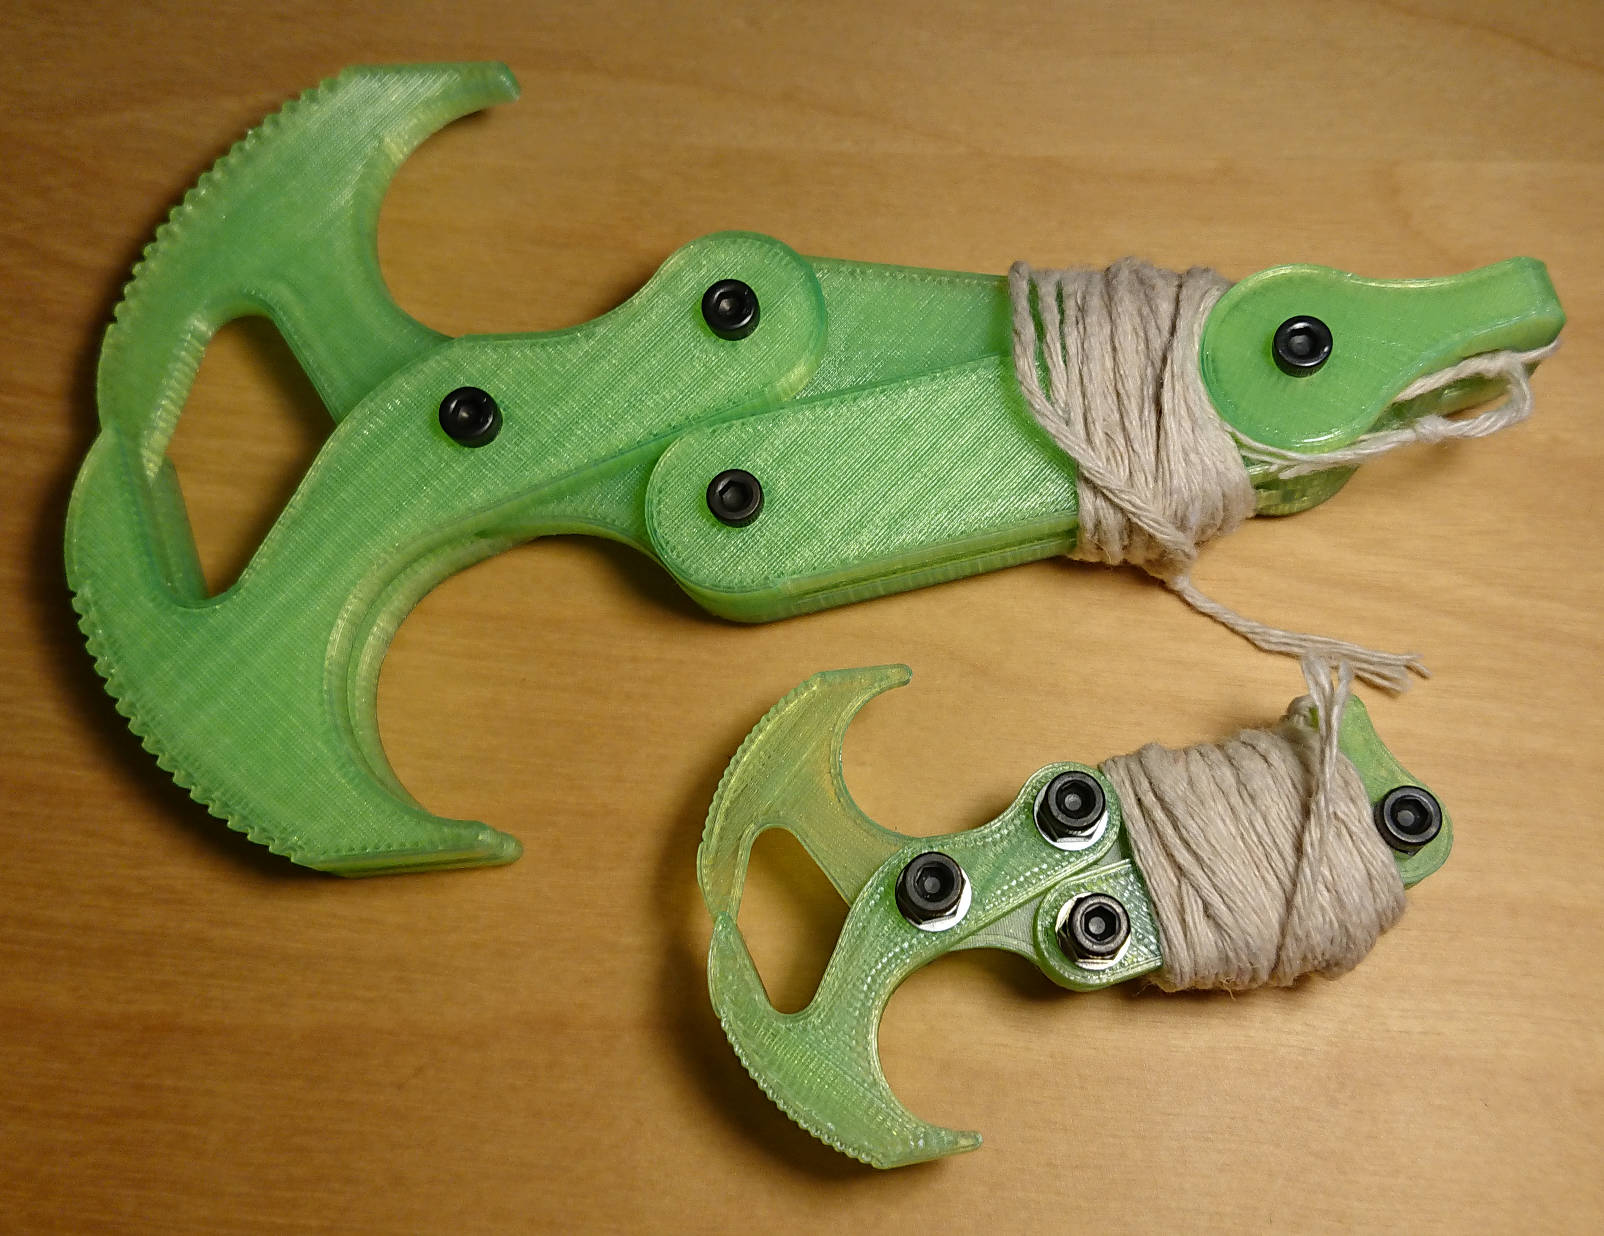
User Snorri has uploaded designs for a gravity hook, which is similar to a grappling hook but has a jaw that opens when the hook rests on the ground and can let you pick up objects.
The comments suggest printing at 105% scale to improve the tolerance; even at this scale I still had to file the screw holes to enlarge them for my M3 screws and sand down the flat spots where the parts mate together. When this was done the hook worked reasonably well, but it was still a little flimsy as the PETG jaws tended to flex.
Snorri has also uploaded a second version, designed at 200% scale; this worked far better and could be assembled into a working hook straight off the print bed with no post-processing. The larger claw size also means you can pick up larger objects — the office got quite sick of me collecting people’s keys, sunglasses, headphones, mice and various cables (especially when they were plugged in).
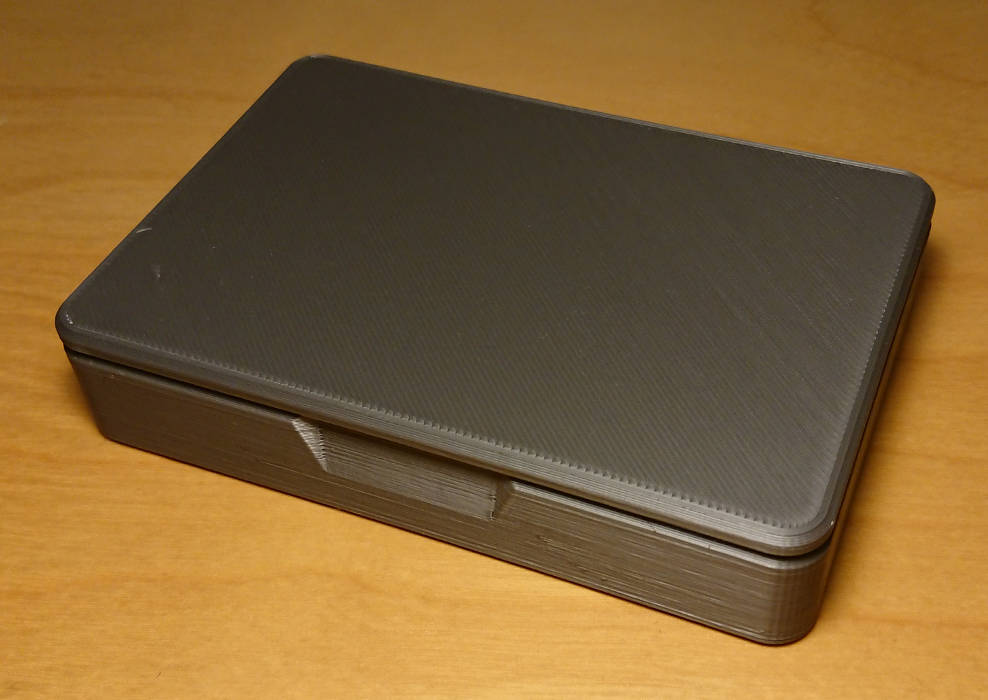
Magnetic screw boxes
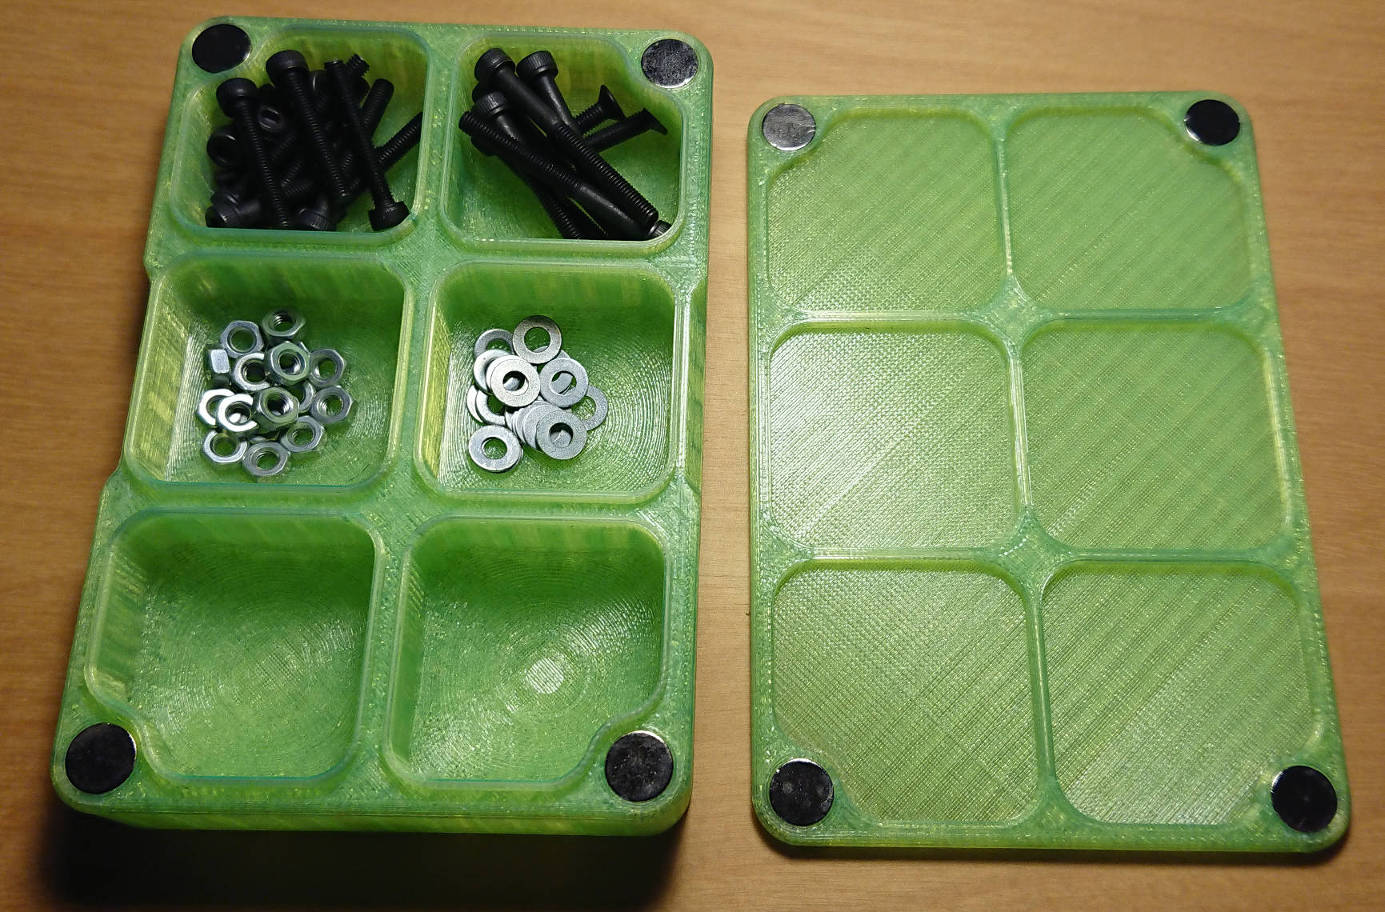
User Darak_Chen has designed and uploaded a very neat magnetic screw box. This is a two-part print, with a box base and a lid section. The base consists of a 3x2 grid of storage compartments, and there are spots for press-fitting small round magnets to ensure the lid remains securely attached.
I found that the lid fit on pretty snugly straight off the printer, so the magnets were probably not strictly necessary. I chose to make the grip a bit looser by sanding down the mating surfaces, and then installed the magnets as designed. The lid jumps on with a satisfying snap and requires a moderate amount of force to dislodge, so you can be sure it won’t come apart in your pocket or bag.
I printed one in translucent green PETG and one in silver PLA, and found the PETG print accepted the magnets much more readily and was generally a more suitable material for this print.
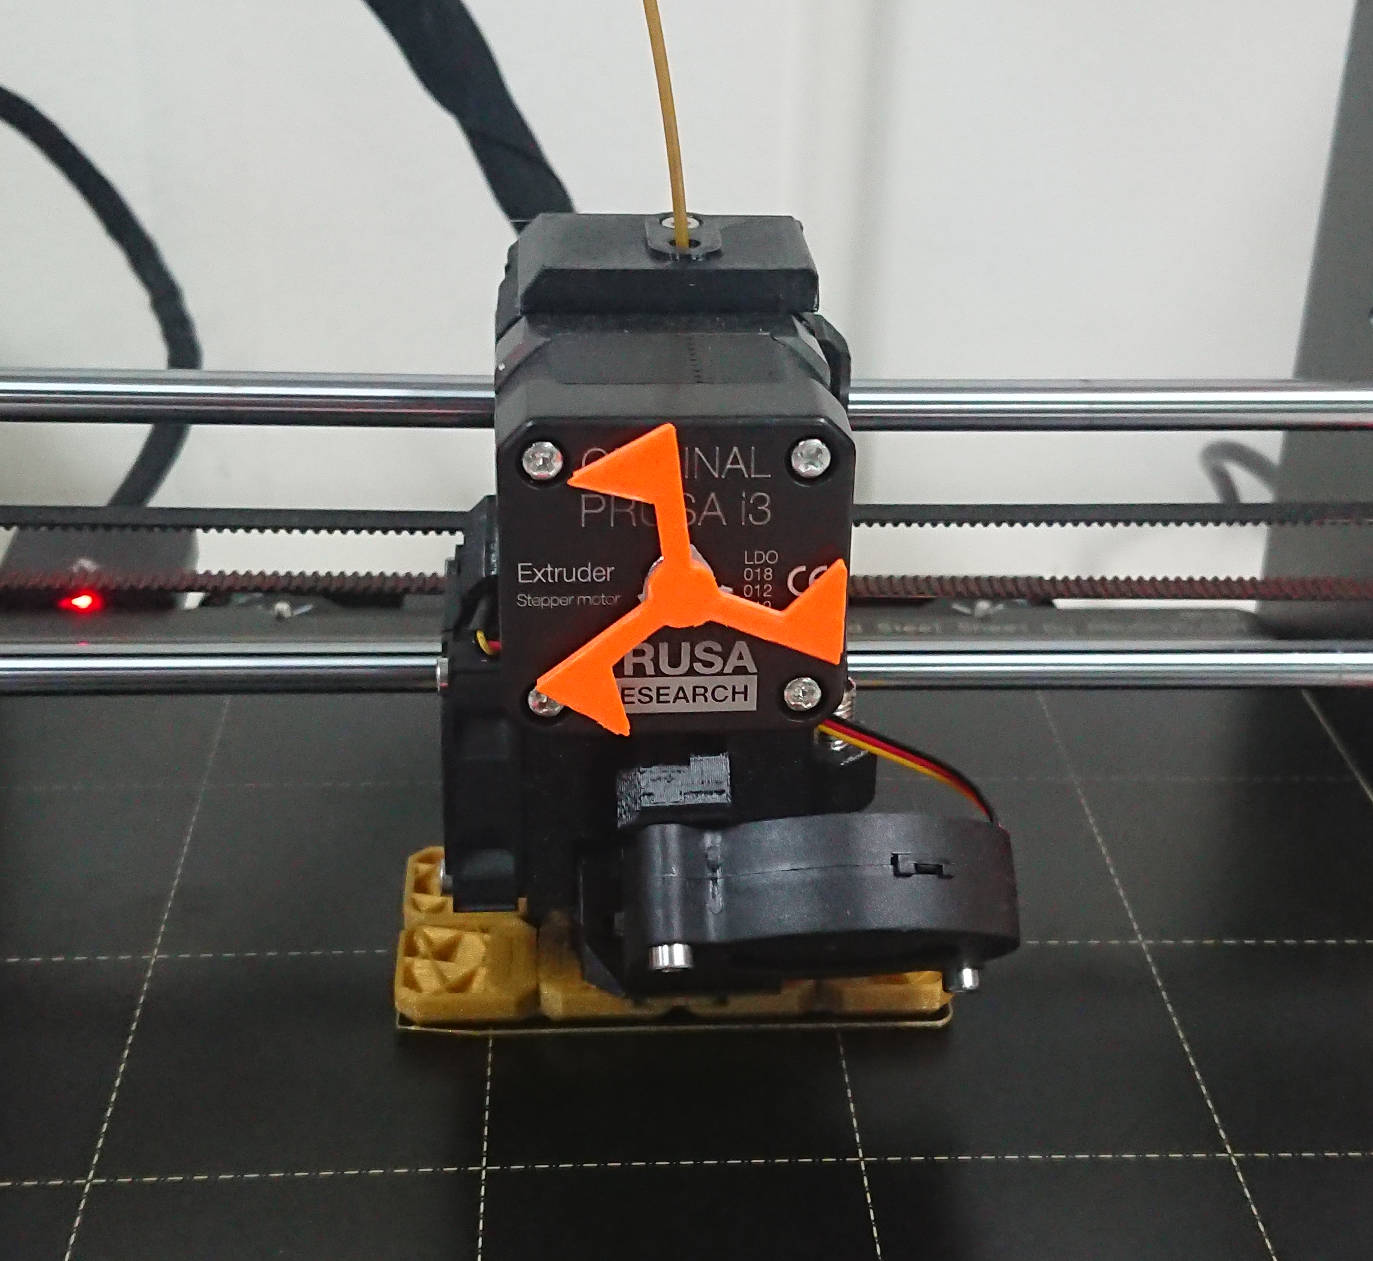
Extruder flag
PrusaPrinters.org has a great article on the use of 3D printed ‘flags’ to visualise the motion of your extruder motor. This can help you identify skipped steps and overtightened idlers… but really I just think it looks cool.
There’s four different designs to choose from in this Thingiverse entry by mikolaszuza. I went with the three triangular flags: simple, but elegant.
Spoon rest
I was sick of leaving greasy utensils either straight on the bench or balanced on a saucepan while cooking, so I printed a couple of different designs of spoon rest. This square one by cjbissonnette is fairly utilitarian but works well enough; while I also tried this round one by rema but had issues printing it, even with supports.
And some other stuff
I printed user Bjunior’s Tactical Zip Tie Handcuff Joiner for a bit of fun and found it worked surprisingly well (and a big thanks to my dad for being a somewhat-willing test subject!). They’re super quick to print, taking only about 10 minutes each at 0.3mm.
User whistleblower has uploaded — you’ll never guess — a whistle. This is surprisingly effective; it only requires a bit of air from your mouth before it produces an ear-splitting shriek. I’ve been sporting it on my keyring for the last few weeks as a just-in-case measure; a few friends and colleagues were impressed by the performance and size so I’ve printed more since my first test.
My Raspberry Pi was feeling bare, so I also printed a case for it and a 4-channel relay, designed by user Keepars. The Raspberry Pi fits very neatly, but I found the screw holes in my relay module don’t line up properly. I think that there’s a lot of 4-channel relay modules available that look similar but have different hole spacings. Oh well, gives me an opportunity to design my own.

What’s next?
Having seen how much fun it is to use a 3D printer and the kinds of things that can be done with it, I’m quite interested in getting my own. This would let me run longer print jobs without worrying about preventing other people from using it, and will also allow me to modify the machine and add or change functionality.
In particular, I’m quite keen to try my hand at replacing the extruder with a pen assembly to turn the machine into a plotter; alternatively, a laser module can make it into a laser engraver and cutter; and I could even design a small pneumatic pump assembly somehow to turn it into a pick-and-place machine.
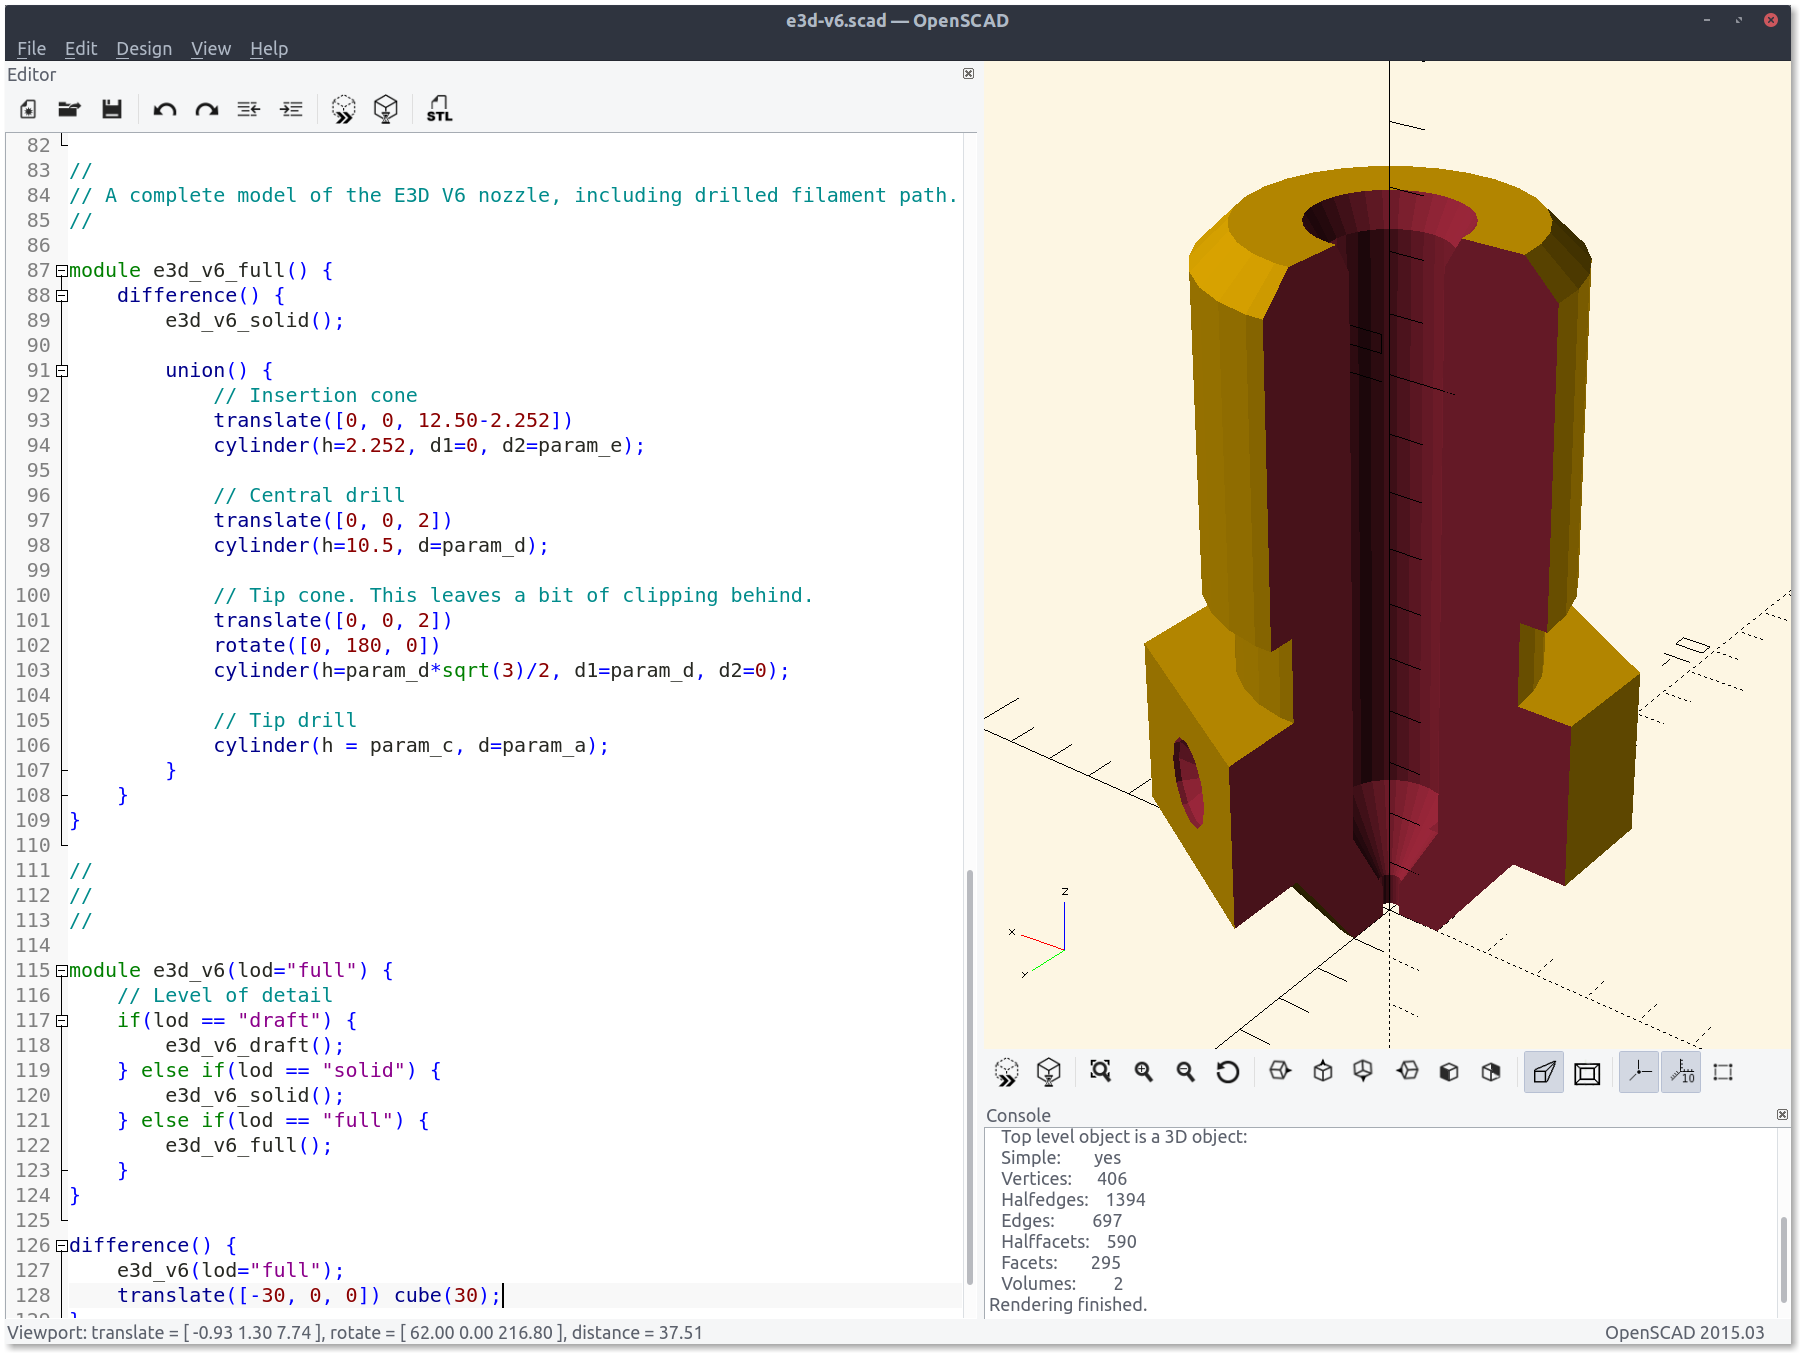
Additionally, I’ve done some basic work into designing my own 3D models. They’re all quite rudimentary, but it was a fun learning opportunity for me so I plan to follow up this post with another entry on that topic (really — sorry about the two-month gap since my last one!).
I’ve updated this post since I originally published it, as I found links to the filaments that we purchased. These are included above. The silver PLA doesn’t have a link, as it came in the kit and we didn’t buy it separately.