Sending SMSes from Python
In yet another article in the series of ‘playing with Python’, today we’re looking at sending text messages! In Australia, Telstra allows you to evaluate and develop with their API services for free, up to a limit of 1000 SMS per month and at most 100 in a single day.
I’ve been interested in using text messages as an out-of-band communication medium for a while, and this was the perfect opportunity to explore the technology.
Registering
Registering for their developer program was extremely simple.
- Go to their developer site and click the ‘Register’ link in the header.
- A dialog will pop up, asking you for some information; fill it in. Accept the terms and conditions, and then click ‘Create account’.
- You’ll need to verify you own the phone number that you provided, by entering a code they will send to you.
And that’s really it. Take a couple of minutes to click around their developer website and marvel at just how nice it all is. It seems like a lot of the developer docs I’ve been dealing with lately have been written as an afterthought (if they exist at all!), so it was very refreshing to see the effort and polish that has been put into the Telstra documentation.
Playing with the API
The Message API documentation is comprehensive and lays out exactly what you need to do to send text messages. They also provide an OpenAPI spec that you can import directly into Swagger; a pre-built Postman image; and API SDKs for a number of languages including Python.
There’s three critical API calls involved in using Telstra to send SMS messages:
- Exchanging your API key and secret key for a session token,
- Registering a mobile number subscription to deliver from, and
- Sending the message itself.
Network code
Before we send our first message, let’s quickly review the network code we’ll use. As mentioned above, they provide a Python SDK you could just import; but I like to understand what the code is doing and I’d like it to be consistent with the other APIs I’ve written, so I chose to implement it myself. Fortunately, the protocol is extremely simple and we can use the requests module to handle most of it.
The basic network code is as follows, edited for clarity:
import requests

def telstra_request(endpoint, body=None, headers=None, *, token=None, method='POST'):
    send_headers = {
        'Accept': 'application/json',
        'Content-Type': 'application/json'
    }
    if token:  # if this is an authenticated request, add the token header
        send_headers['Authorization'] = 'Bearer ' + token
    if headers:  # add any extra headers if desired
        send_headers.update(headers)

    url = "https://tapi.telstra.com/v2/" + endpoint
    return requests.request(method, url, json=body, headers=send_headers)
API keys and authentication
You should have been automatically issued with a pair of API keys, under the application name “Free Trial APIs”. You can view these keys on the My apps & keys page. In order to start using the API services, we need to exchange this keypair for an authorisation token.
See the documentation for this API call here, or my code as shown below. Note that for authentication I don’t use the telstra_request method defined above — this particular endpoint requires payload data to be submitted in standard Form URL encoding (not JSON).
def auth(app_key, app_secret):
    body = dict(client_id=app_key, client_secret=app_secret,
        grant_type="client_credentials", scope="NSMS")
    response = requests.post("https://tapi.telstra.com/v2/oauth/token", body)

    if response.status_code != 200:
        raise RuntimeError("Bad response from Telstra API! " + response.text)

    response_json = response.json()
    return response_json['access_token']
Subscription
We need a number for our text messages to get ‘sent’ from. This is called a provisioned number, and is managed using subscription API endpoints.
See the documentation for this API call here, or my code as shown below. There are a couple of arguments you can pass; I haven’t bothered as the defaults are fine for me.
def create_subscription(token):
    response = telstra_request("messages/provisioning/subscriptions", {}, token=token)

    if response.status_code != 201:
        raise RuntimeError("Bad response from Telstra API! " + response.text)

    response_json = response.json()
    return response_json['destinationAddress']
Sending an SMS
Sending an SMS is just as straight-forward. The only two arguments that this API call requires are the destination phone number and the message body. There are a number of optional arguments I haven’t shown here; one exciting one is scheduledDelivery, where you can delay delivery of your message by some duration.
See the documentation for this API call here, or my code as shown below:
def send_sms(token, to, body):
    payload = dict(to=to, body=body)
    response = telstra_request("messages/sms", payload, token=token)

    if response.status_code != 201:
        raise RuntimeError("Bad response from Telstra API! " + response.text)

    response_json = response.json()
    return response_json
Tying it together
Once we’ve got the code for the individual pieces done, it’s easy to put them together and send an SMS message. First, we authenticate with our keys and grab the token. Then, create a subscription; and lastly, we get to send an SMS to the desired recipient with the message we’ve picked out.
token = auth("PutYour32CharClientKeyHereThanks", "ClientSecretHere")
create_subscription(token)
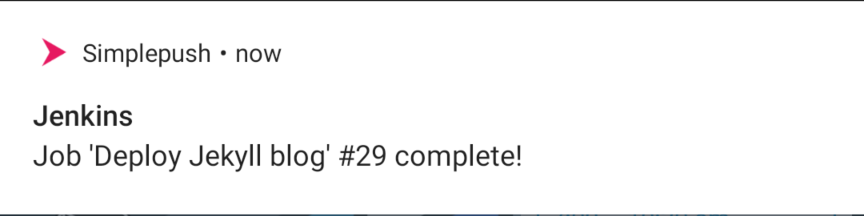
send_sms(token, "+61400000000", "Hello sigsec readers!")
Here’s how it looks on my phone:

Closing
The code above is great as a base for one-way communication from your code to a user. However, it doesn’t really fulfil my aim of interactivity. In a future post I’ll look at using the Retrieve SMS Responses API command to poll for replies from a user and basic branching conversation flow.
I hope this has been interesting for you and you’ve been able to learn something! I’ve tested the code included here at the time of writing and, while quite basic, it does exactly what it needs to for sending messages. If you’ve got any feedback or would like some further clarification please send me an email using the details on the about page.
The complete Python code shown here can be found in Github.